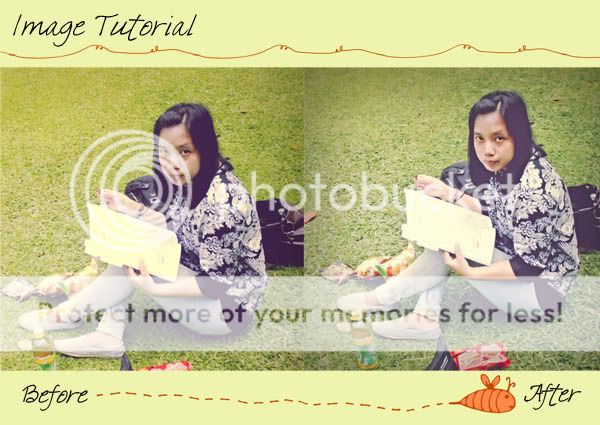
I had a deep conversation last night with boyfriend. We didn't talk about some cheesy yet loveable things. In the middle conversation, he asked me "what you love to do?", and i said "Blogging is one of my fave. Why?" then he said "Don't always blogging for no reasons, blogging for other people. Make it worth to read". What he said is something that barely made up my mind. And this is what i love to do, editing photo! Editing photos is what i do to spend time if i have nothing to do. Basically i work with Adobe Photoshop but now Lightroom becomes my workmate. On previous post, i've told you about this program so, i don't have to explain it anymore but one thing: it's way more simple to edit photo than others. This is one of my edited photos and im gonna show you tutorial about this photo. What to do? follow the instruction bellow.
How to make this edited photo:
1. Open your lightroom then go to file menu->import photo, then choose photo that you want to edit.
2. Go to develop on your right bar above your photo, and here we go do edit for a while.
3. On Basic menu, set Recovery(15), Fill Light (30), Blacks (8). Increase clarity (+61), Vibrance (-3), Saturation (-8).
4. On HSL/color/BW menu, only set for Green (-41) and Purple (-43).
5. On Detail menu, set luminance (30)
6. For finishing, set amount(-26) on your Lens correction menu. Here it is, your brand new photo!
Happy editing! Make it better, ok :D
rraww!
cchhaannss


bedanya ama potocop apa sih chan??
ReplyDeletekynya efek gini bisa dibuat di potocop juga kan?
hehe...
Bedanya dia bisa baca format RAW pew, katanya sih lbh bagus gambarnya drpd jpg. Trus disini ngga pake layer2 kaya photoshop jd simpel, hehee.
ReplyDelete